
AdventureworksCI Step 4 Pushing to GitHub
This is part of a series on how to take the Adventureworks database and bring it in line with modern standards. How do we put a legacy SQL Server database into source control? What issues do we face and how hard is it? Then how do we build a continuous integration pipeline and possibly move towards continuous deployment. This series takes a look at how we achieve this whilst also implementing some coding standards and making an imperfect database a little bit better.
See the introduction: https://the.agilesql.club/Blog/Ed-Elliott/A-reference-for-creating-a-con…
Getting a github repo
If you have been following along the series by now you should have an SSDT project with the schema and code of the database and possibly some or all of your reference data in a post deployment script. It is at this point before we make any actual changes (or earlier) that we should check the project into source control. It is likely that the database will contain invalid code so we will need to change or delete it safe in the knowledge we can get it back so we use source control to give us that confidence.
I am going to set this up on github, you can basically do the same thing with any source control system the only difference is that commands that you run. If anyone wants a particular walkthrough, visual studio online or svn for example then please contact me and I will put one up if there is enough interest.
Git
The first step is to create a github account, they are free and if you are a little wary, don’t be it is a great experience - plus you don’t have to grow a beard and where joggers to work, you can shave and wear a suit. As an aside, most people who work with SQL Server have a set of scripts that they have written over the years to help manage and troubleshoot SQL, if you are new to source control and you have these scripts why don’t you put them on github and start using it to have some real benefit?
Getting a github account couldn’t be easier, just go to https://github.com and sign up.
There are a few choices on how to get code from github, you can just download the source code from the website without ever registering but it means you can’t contribute and that would be no good!
Other than by using the web site there are a few clients, including Visual Studio 2013+ but for the walkthrough we will use my favorite “git bash” which is the command line version and really simple, at least for what we want to do today. If you go to the git download page:
If you are on windows click the “Windows” logo and it will download the windows installer:
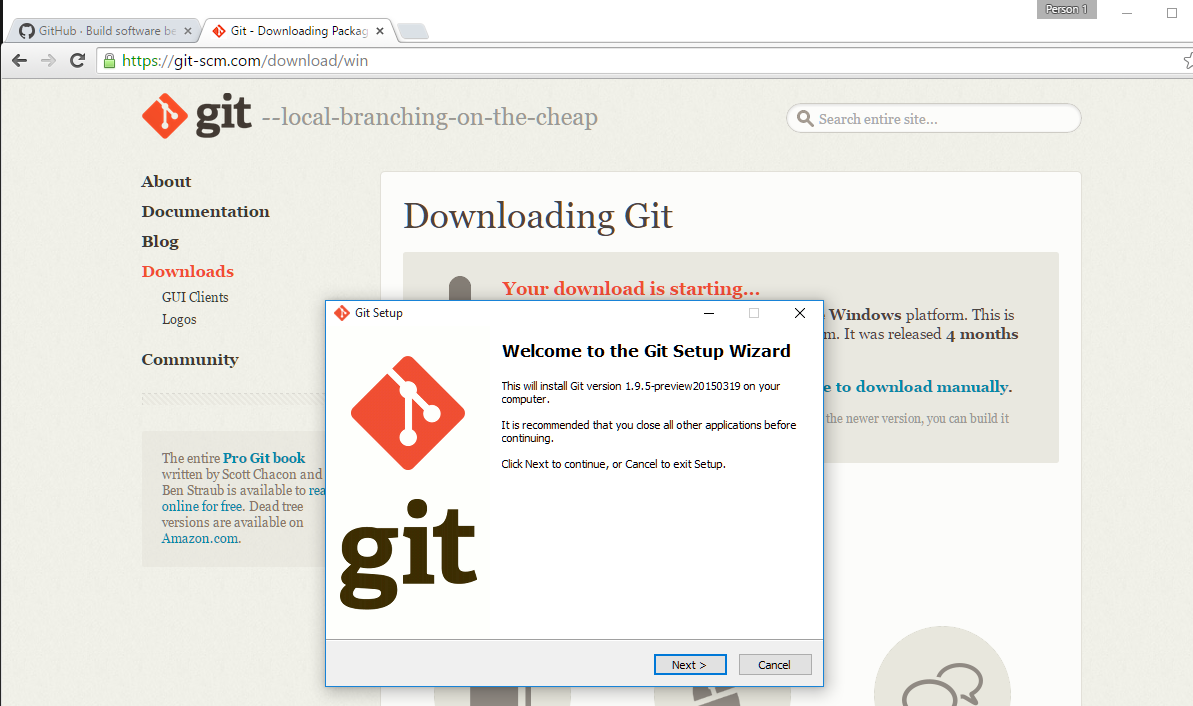
My personal preference is just to use the command line version of git and not clutter up my windows explorer context menu so I untick everything on the install screen:
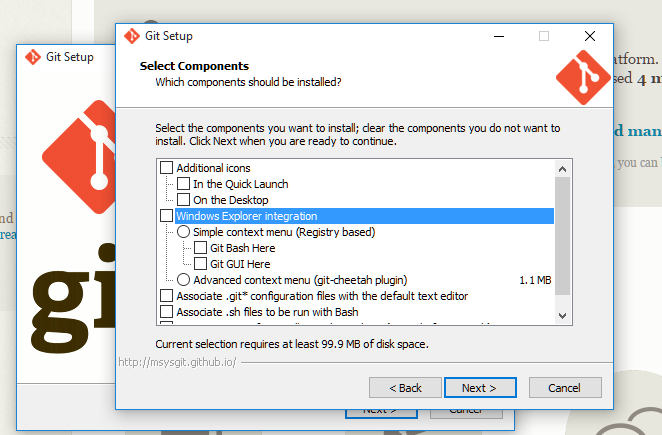
There is then a bit of a scary warning about taking over everything on your computer, just choose the first option “Use Git from Git Bash only” finish off the installation and you should be ready to go.
If you now start “git bash” you should get an odd looking command prompt. What you have is MINGW and a bash session which is like you are running on linux, don’t be put off it isn’t too difficult instead of cd c:\blah you just do cd /c/blah and then everything else is basically the same!
As another aside, if you don’t even want to install git then take a look at https://www.spoon.net/hub/git/git as they have a virtual instance of the git client you can run which saves you having to install git at all.
Github repo
Now we have git we need somewhere to check the code into, a repo! If you go back to github and click the “+ New repository”, enter in a name of the repo, I will use “AdventureworksCI”. I will make it a public repository, if it is your own code you should probably make it private. If you do not have a paid github account you can create private git repositories using visual studio online for free.
I will initialize it with a readme and a license, I will use the MIT license as I believe it gives everyone most choice but if anyone wants a different license the I accept pull requests with whatever license they want.
I also add a .gitignore for “VisualStudio”.
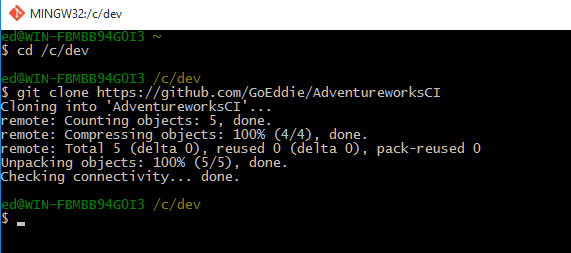
Once the repo is created it should contain a few files, to download the repo onto our machines in a way that we can usefully use it is to clone it, so in git bash, change to a directory where you want to download the code to. I tend to use c:\dev so would do “cd /c/dev/” and then:
If we break this down we have:
git - awesome
clone - download into something we can check into and do a get latest on
https - the protocol, we could use the git protocol but we would have to setup private keys and what not which is for another day
github.com - the place where the repro is hosted
GoEddie - my username, any repo’s you create will be under your username so we can all use the same project name
AdventureWorksCI - the project name, only has to be unique to your username
We could have also initilized an existing directory but I think it is easier to clone one and copy your code into it.
We put the code in
If you visit the folder in windows explorer you see that in spite of our foreign bash session it is just windows upder the hood:
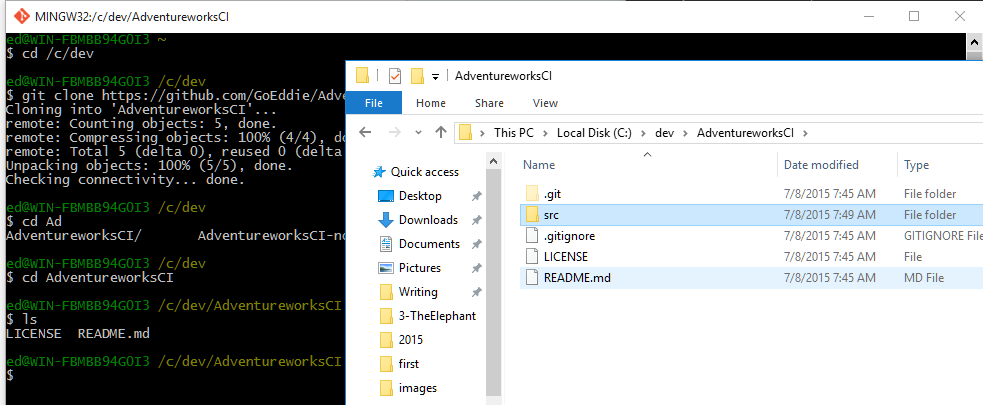
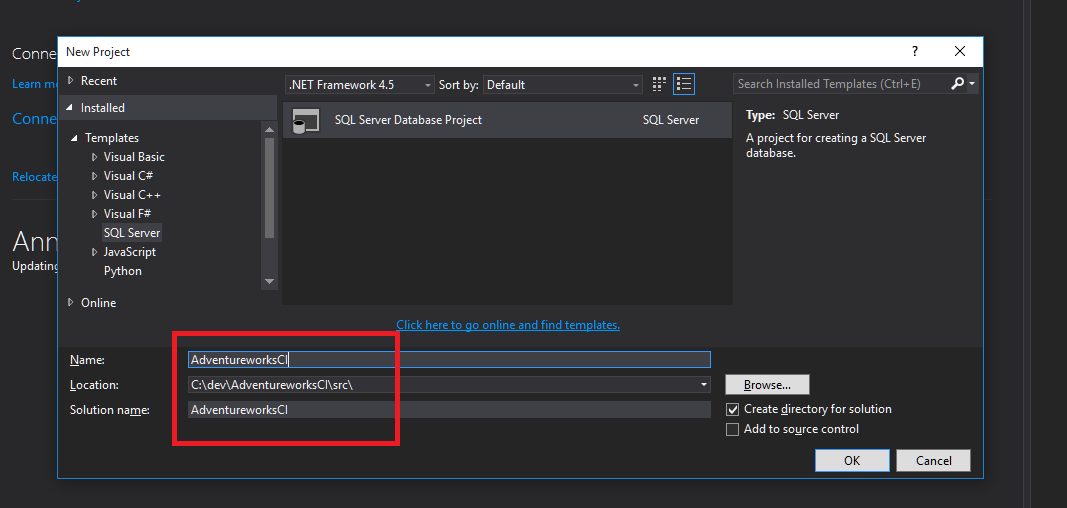
Now we have a repro we need to put our code in, if you have already created an SSDT project you can copy it in or you can have visual studio create a new project in the new repo. I will create a sub directory for the source called src and create a new project:
I then do an import of the code into the new SSDT project and then check it in by going back to git bash, changing to the root directory and doing:
git add .
git commit -m “initial code of AdventureworksCI - untouched!”
What is this?
“git add .” means stage or get ready to check-in all the changed files in the current directory and all sub directories
“git commit -m ..” does a commit of the files stages previously - you can keep staging files and commit in one go or commit as you go along.
When you are ready to share your code then you can go a “git push” - this takes all your commits and sends them to the shared repo.
That is it, the code is now in source control:
https://github.com/GoEddie/AdventureworksCI
Whoop whoop.